How To Fix a Leaking Tap Without a Plumber

Say goodbye to the annoyance and waste of leaking taps with a DIY approach that doesn’t require a professional plumber. This blog post, titled “Fix a Leaking Tap Without a Plumber,” is tailored for homeowners dealing with the pesky issue of dripping taps. It offers a comprehensive guide to tackling minor leaks on your own. From identifying the source of the leak to selecting the right tools and replacement parts, we’ll walk you through the entire process of repairing a leaking tap.
Learn how to disassemble your tap, replace the faulty components, and ensure a watertight seal upon reassembly. Additionally, we’ll help you weigh the decision between repair and replacement and identify when it’s time to seek the expertise of Local Plumbing & Gas Co.
Dive into our step-by-step guide and arm yourself with the knowledge to fix a leaking tap without a plumber and turn your potential headache into a manageable and satisfying DIY project.
Ready to call the plumbing professionals?
Contact Local Plumbing & Gas today for all your Gold Coast blocked drains, emergency plumbing, leak detection, gas fitting, hot water, and backflow testing needs.
Tools and Materials Needed
Before we get into the step-by-step guide, let’s take a look at the tools and materials you’ll need for this DIY project:
- Adjustable Wrenches: For loosening and tightening various parts of the tap.
- Screwdrivers: To remove the handle of the tap.
- Replacement Washers and O-Rings: Make sure you have the correct sizes for your specific tap.
- Plumbing Tape: This helps ensure a tight seal when reassembling the tap.
Remember, it’s always better to be overprepared when starting a DIY project. Having all the necessary tools and materials at your disposal will make the job easier and increase the chances of a successful repair.
Step-by-Step DIY Fixes For a Leaking Tap
Now that we’ve covered the types of taps and the tools you’ll need, let’s dive into the step-by-step process on how to fix a leaking tap. Remember, if at any point you feel uncomfortable with these steps, we’re just a call away.
Step 1. Preparation
Before you begin your leaking tap repair, it’s crucial to turn off the water supply to avoid any potential messes or further damage. Once the water supply is shut off, open the tap and let any remaining water drain out. This ensures a dry workspace for you to operate in.
Step 2. Disassembling the Tap
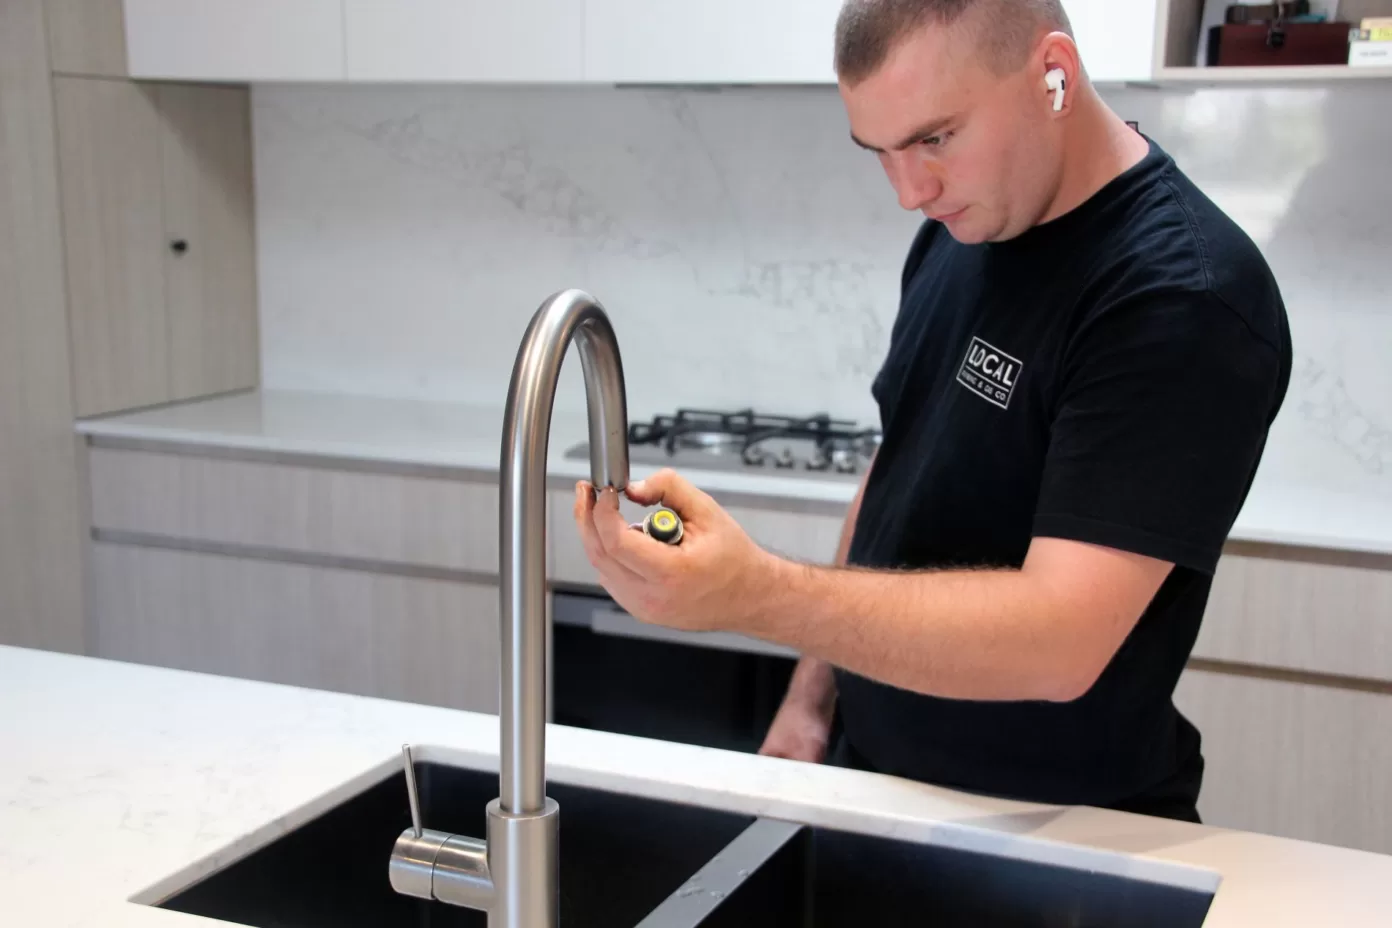
The next step involves carefully disassembling the tap. Depending on your tap type, this process will vary slightly. However, in general, you’ll want to remove the handle and the packing nut, which will expose the stem. Remove that as well. Keep all parts in a safe place, noting their order for reassembly later.
Step 3. Identifying the Problem
Now, inspect various components, such as the washer, O-ring, and cartridge, for wear and damage. A worn-out washer is often the culprit behind a leaky compression tap, while damaged O-rings or cartridges can cause leaks in ball, disc, and cartridge taps.
Step 4. Replacing Faulty Parts
Once you’ve identified the faulty part, it’s time to replace it.
Ensuring a Tight Seal
One of the most crucial aspects of fixing a leaking tap is ensuring a tight seal. This prevents future leaks and ensures the longevity of your repair work. When replacing components like washers or O-rings, make sure they fit snugly. Use plumbing tape where necessary to secure the seal.
When to Replace vs. Repair
It’s also important to evaluate when replacing the entire tap is more cost-effective than repairing it. If your tap is older or you’re frequently dealing with leaks despite repairs, it may be time to consider a replacement.
Remember, doing tap repairs yourself can save money, but they should also be effective. If you’re constantly repairing the same tap, the costs can add up, making replacement a more economical option.
When to Call a Professional

While DIY tap repair can be fulfilling and cost-effective, there are times when calling in a professional from Local Plumbing & Gas Co. is the best course of action.
Recognising Complex Issues
Some tap leaks might indicate more complex issues that require professional attention. If your tap leaks after replacing parts or you notice problems with the tap’s internal mechanisms, it’s time to call in the pros.
Benefits of Professional Plumbing Services
When you hire Local Plumbing & Gas Co., you get more than just a plumbing service. You get the peace of mind that comes from knowing your plumbing issue has been handled by an expert. Our maintenance plumbers have access to the right tools and parts and bring years of experience to every job. Plus, our workmanship is guaranteed, providing you with long-lasting solutions.
Conclusion
Fixing a leaking tap without a plumber is a manageable DIY task for many homeowners, provided that you understand the types of taps, have the right tools and replacement parts on hand, and follow the step-by-step process carefully. However, it’s equally important to recognise when a problem might be beyond your skills. Whether your tap continues to leak after a DIY repair or you encounter complex issues with the tap’s internal mechanisms, don’t hesitate to call in the professionals at Local Plumbing & Gas Co.
Whether you need help with a stubborn leaking tap or more complex plumbing issues, our experienced maintenance plumbers are just a call away. Contact us at 1800 562 251 for quick and affordable leaking tap repairs on the Gold Coast.


